

Related posts

5 Easy Easter Recipes: Texas Pepper Jelly Style
5 Easy Easter Recipes: Texas Pepper Jelly Style
We are always ready for Easter with a spread loaded with flavor and wow! Here are fiv...

Texas Pepper Jelly Glazed Ham for Easter
Texas Pepper Jelly Glazed Ham for Easter (Sweet Heat Holiday Favorite) A beautifully glazed ham is a timeless Easter centerpiece,
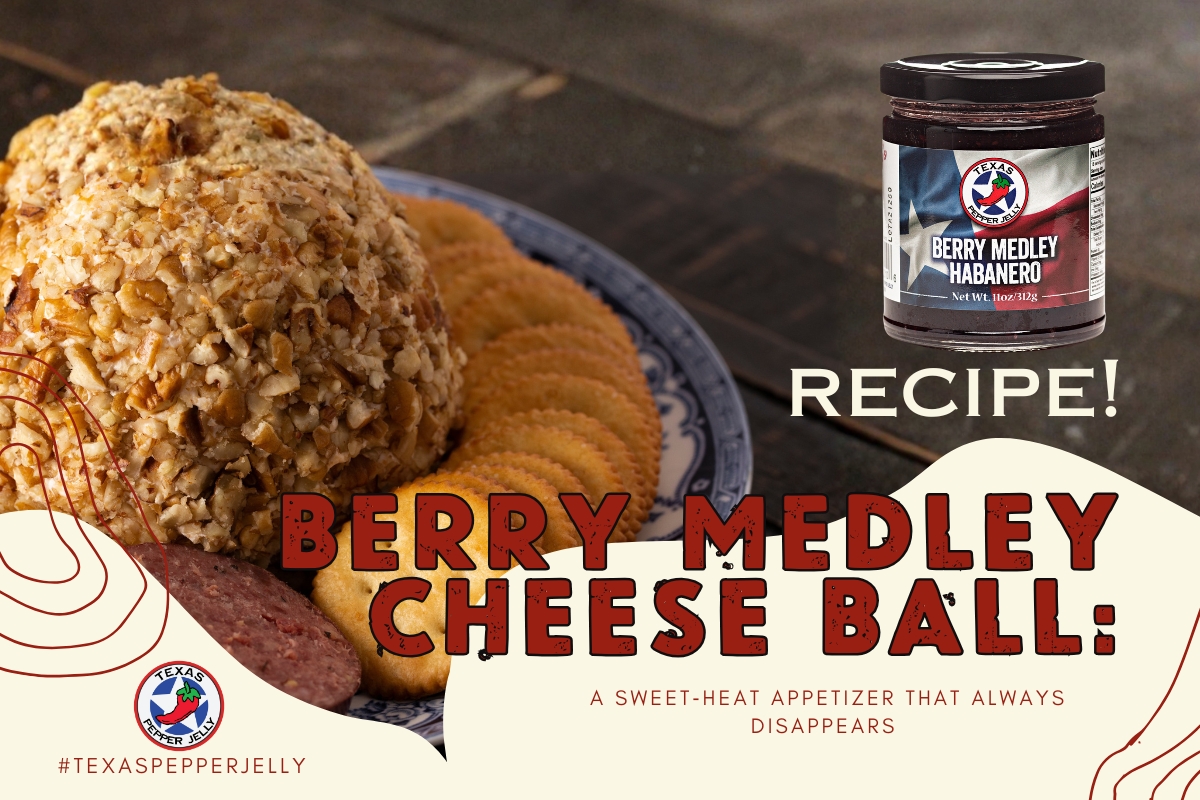
Berry Medley Cheese Ball: Easy Appetizer that Dissapears
Berry Medley Cheese Ball: An Easy Appetizer That Always Disappears Around the Texas Pepper Jelly Headquarters, we believe in easy

Top Ten Valentine’s Gifts for BBQ Lovers
Top Ten Valentine’s Day Gifts for the BBQ Lover in Your Life
If you didn’t get the BBQ lover in your life everything they wanted ...

Football Sunday Food: Texas-Style Cheesy Chicken Dip
Why Chicken Dips Are The Superbowl Secret Ingredient Your super football Sunday couch quarterbacks are going to need food, and
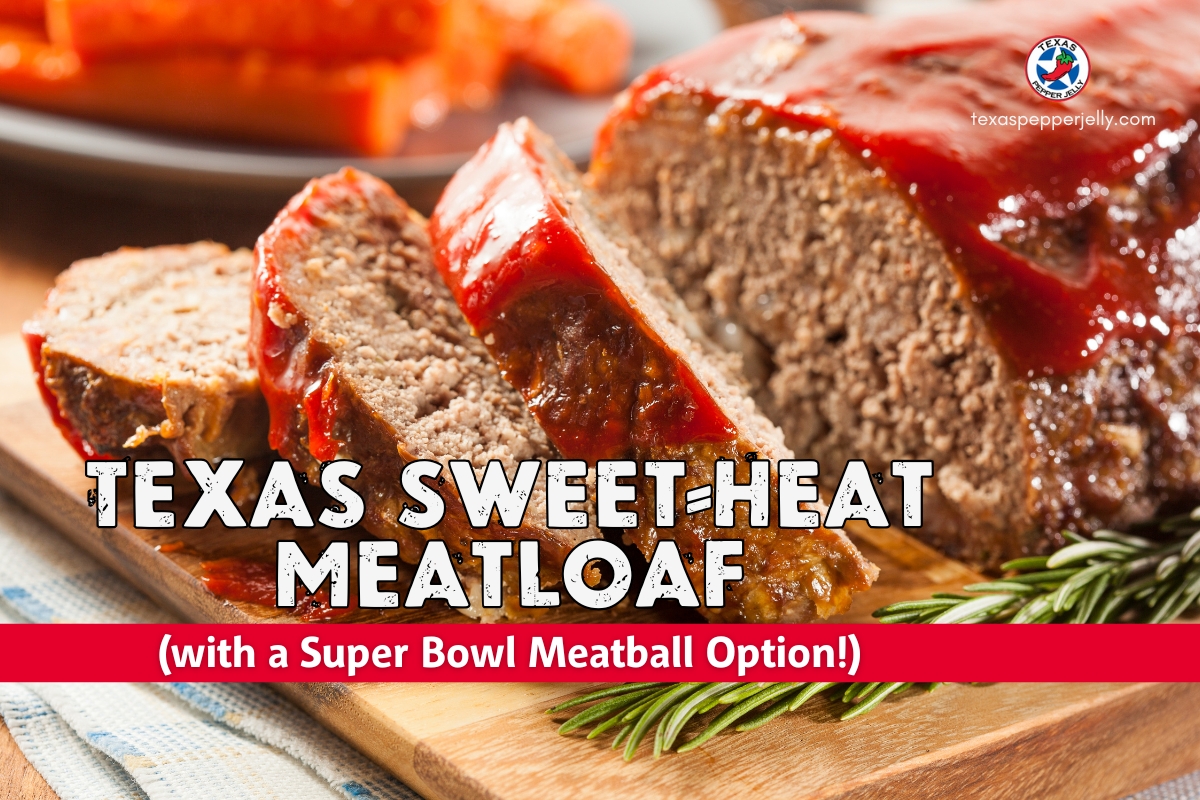
Texas Football Food: Versatile Meatballs
Texas Sweet‑Heat Meatloaf (with a Super Bowl Meatball Option!) A hearty, flavor‑packed football food classic made with Craig’s BBQ Sauce
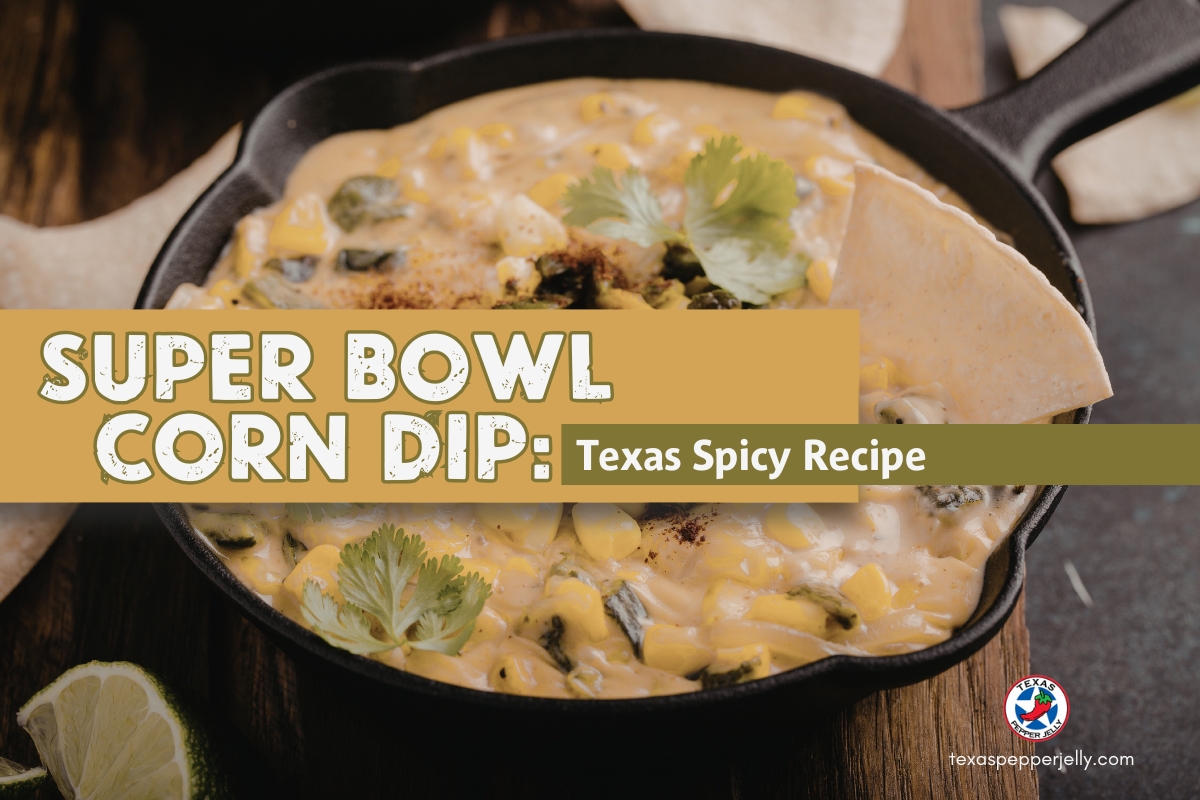
Super Bowl Corn Dip: Texas Spicy!
A warm, cheesy Super Bowl Corn Dip loaded with corn, tomatoes, chilies, and sweet heat from Apple Habanero Rib Candy. This easy Texas‑style party dip feeds a crowd and bakes up bubbly, golden, and irresistible for game day.

Game Winning Super Bowl Recipes
Game Winning Super Bowl Recipes
Ready for football’s biggest game of the year? If you’re looking for some easy-to-make super bowl...

Caramel Dip Surprise: A Sweet and Spicy Fall Treat
Caramel Dip Surprise: A Sweet and Spicy Fall Treat
Looking for a caramel apple dip recipe with a twist? Caramel Dip Surprise is t...
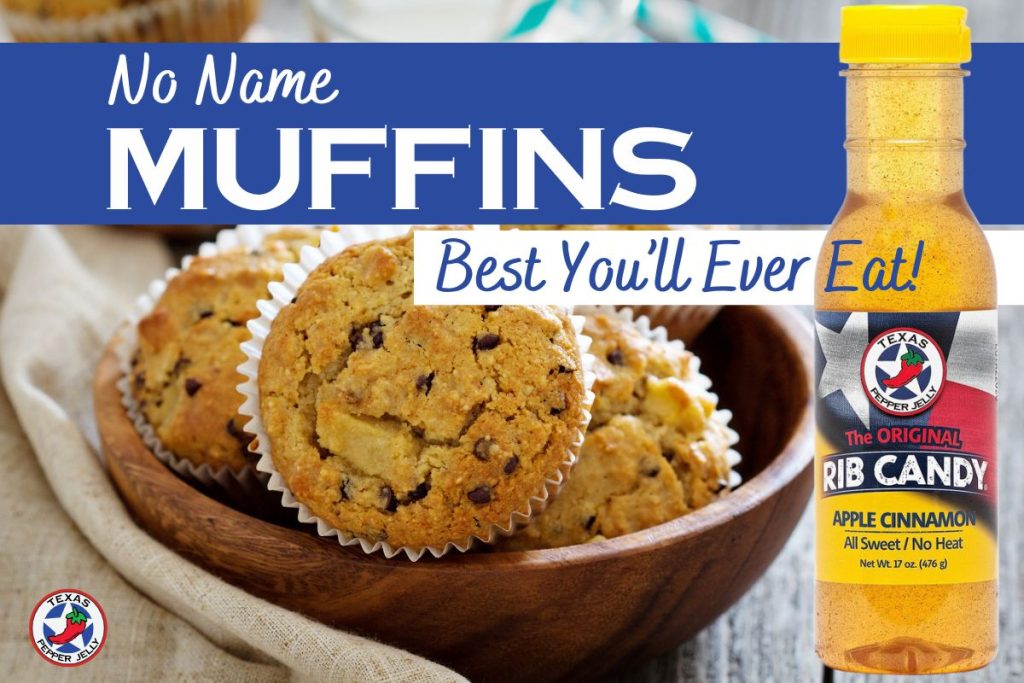
Best Muffins You’ll Ever Eat
The Muffin Recipe Your Family Keeps Coming Back To There’s something special about muffins that makes them feel like a
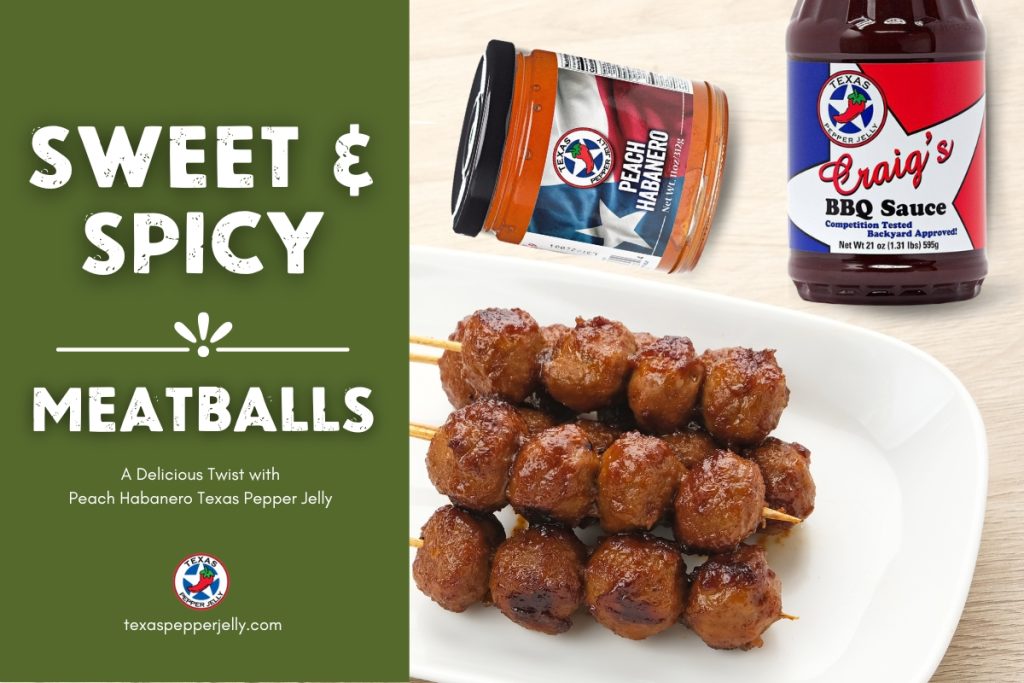
Peach Habanero Meatballs Recipe with a Twist
Sweet & Spicy Meatballs: A Delicious Peach Habanero Twist Crafting family recipes has a unique charm that people adore. One
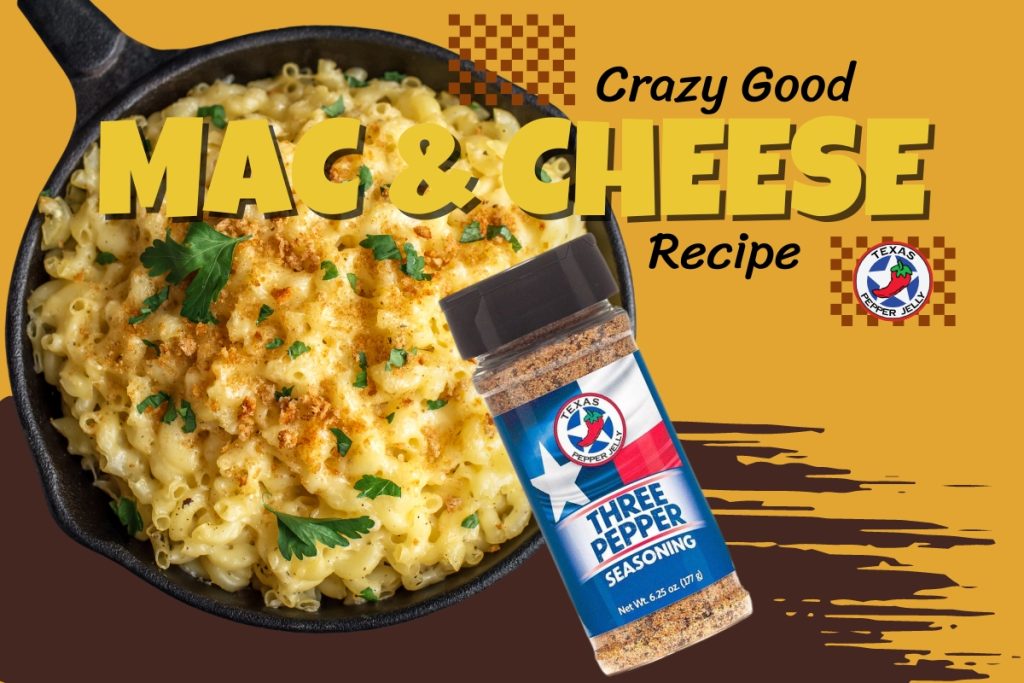
Crazy Good Macaroni and Cheese
Crazy Good Macaroni and Cheese Our Crazy Good Macaroni and Cheese is a simple taste of childhood bliss. Remember those